Bathtub Refinishing vs. Bathtub Liner: An Honest Side-by-Side Comparison
May 31, 2026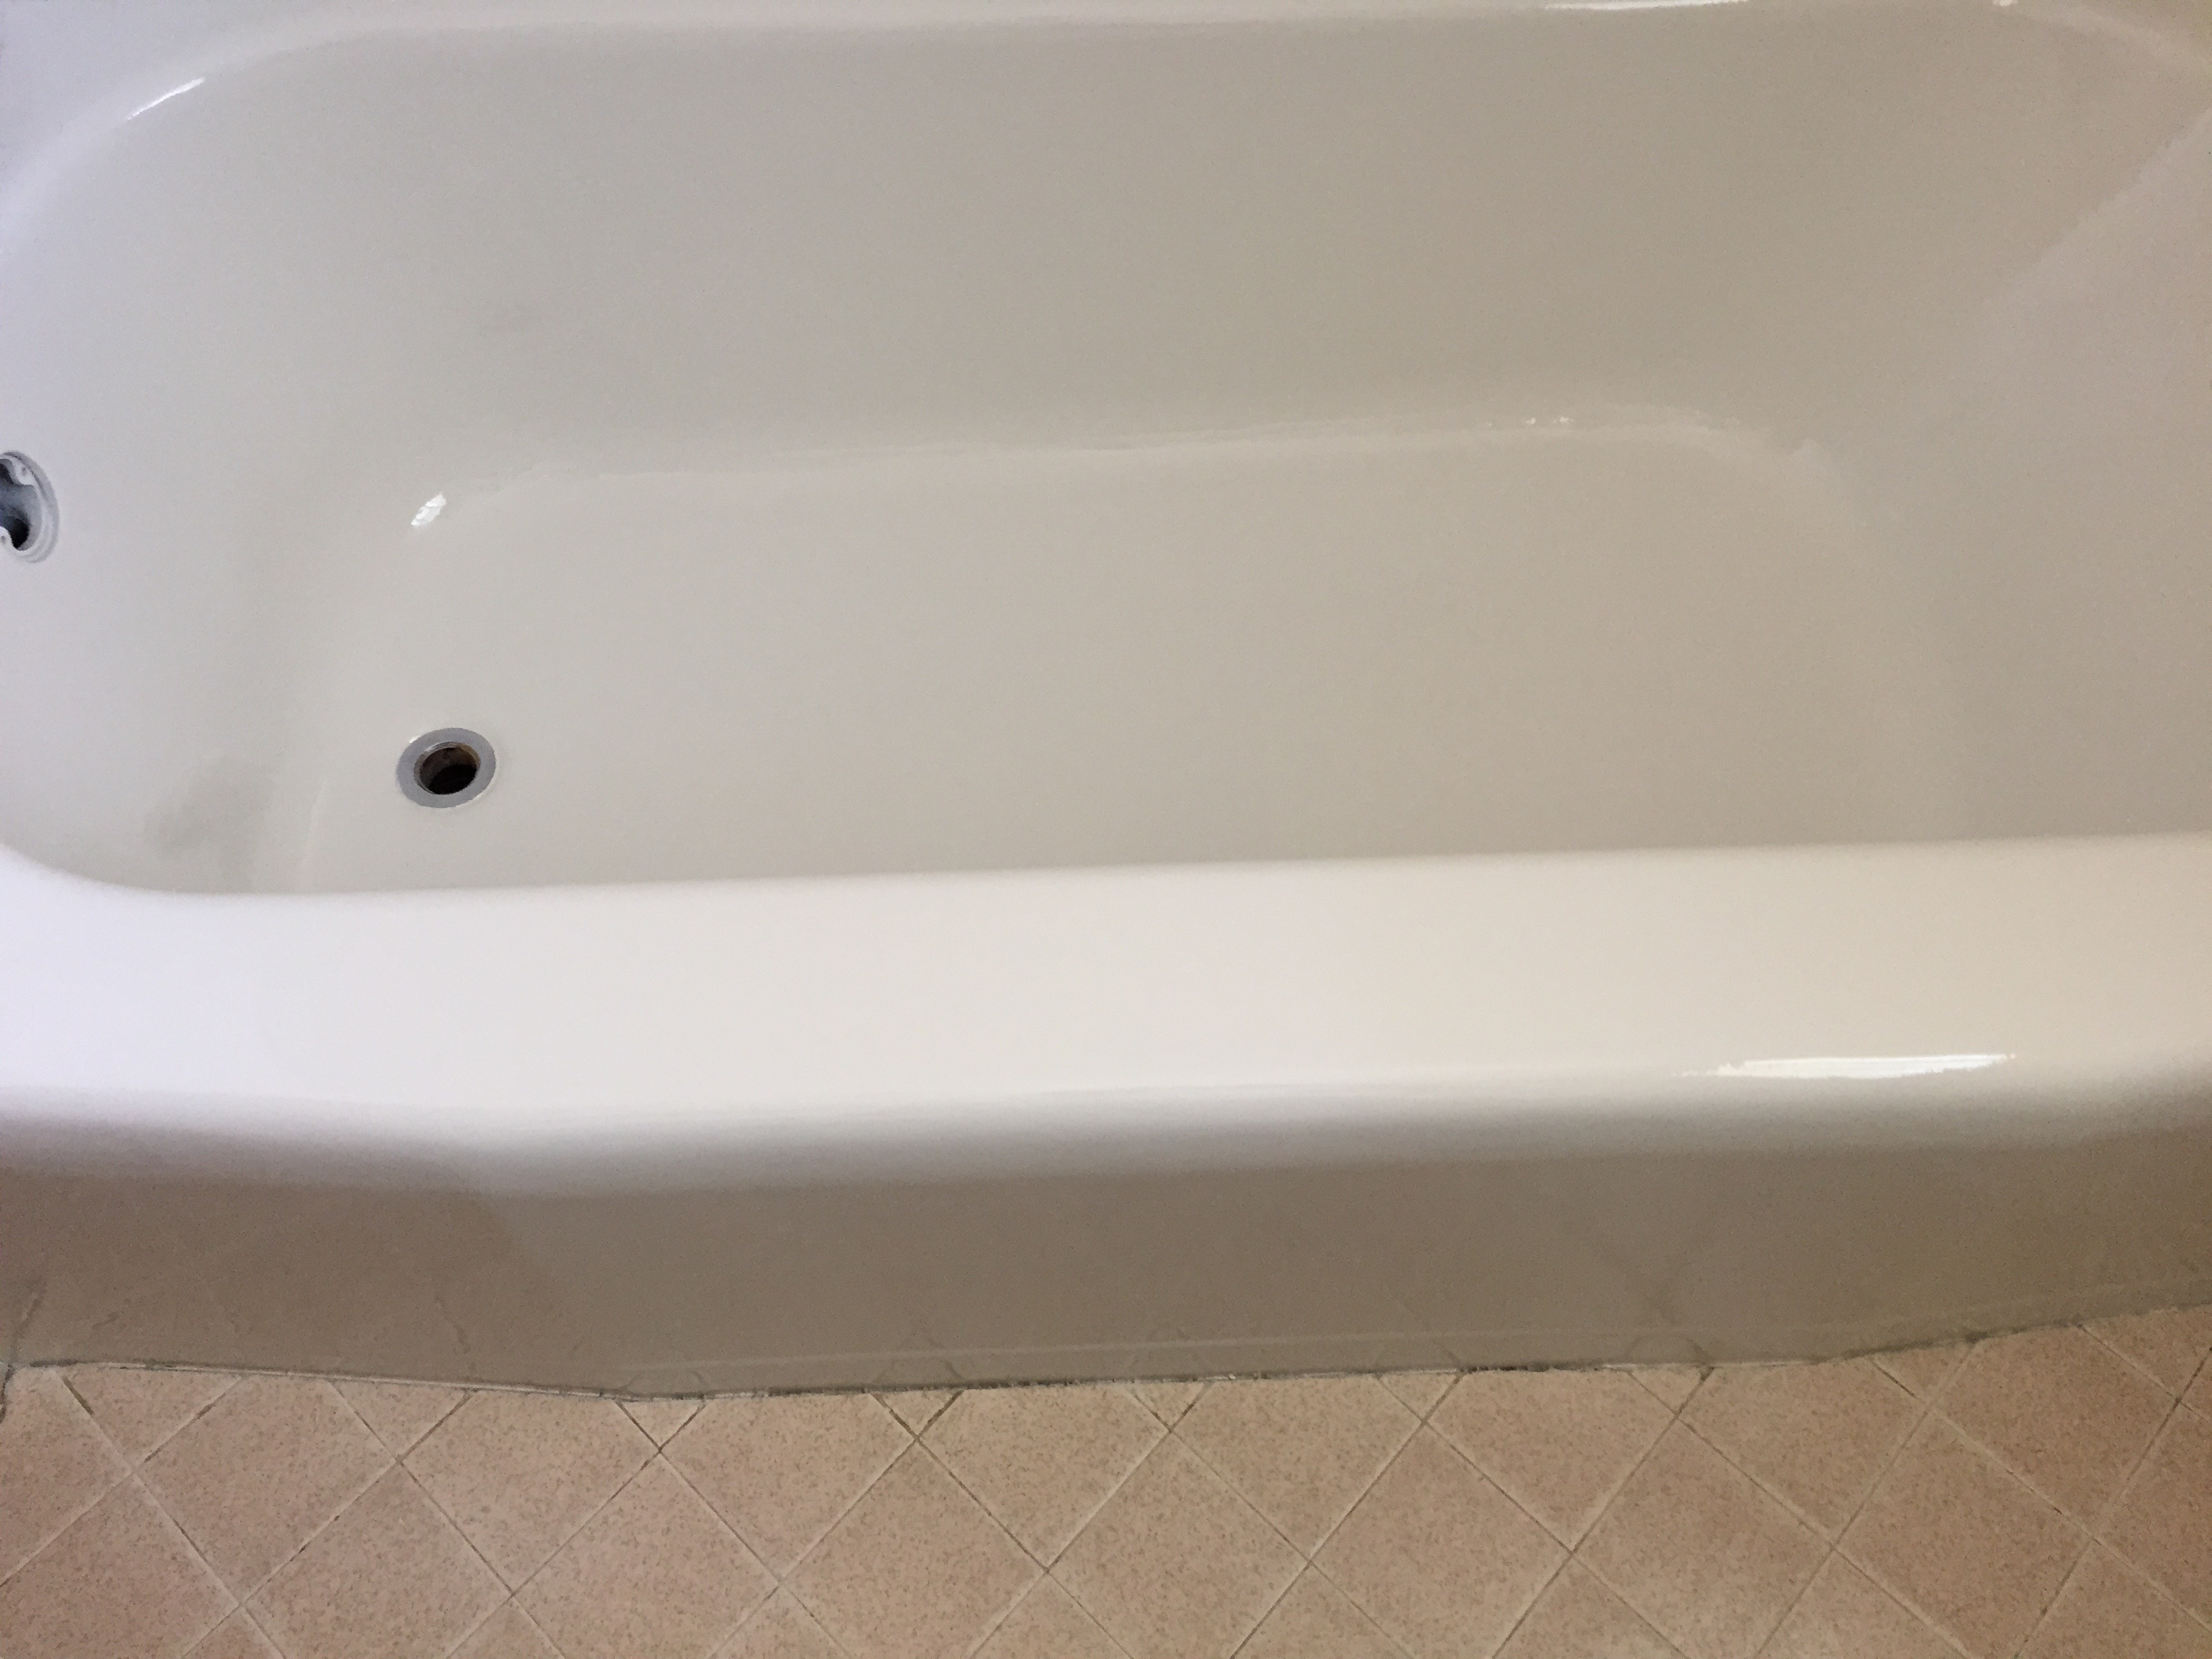
Bathtub Refinishing in Joliet, IL: Costs, Process & What Local Homeowners Need to Know [2026]
June 4, 2026
The Bathtub Refinishing Process Explained: What Actually Happens Step by Step
If you are thinking about refinishing your bathtub instead of replacing it, you probably want to know exactly what happens during the process before a technician shows up at your door. Fair enough. Refinishing is one of those services where the result looks simple (a shiny tub), but the quality depends entirely on what happens in the steps most homeowners never see. A rushed prep job leads to peeling within months. A properly executed refinishing lasts 10 to 15 years.
Here is the full process, broken into the actual steps a professional refinishing technician follows, with the details that matter: timing, materials, and the failure points that separate a lasting finish from a callback.
Quick Overview: What the Full Process Looks Like
| Step | What Happens | Time |
|---|---|---|
| 1. Site protection | Plastic sheeting on walls, floors, fixtures | 15-20 min |
| 2. Hardware removal | Drain cover, overflow plate, spout, handles | 10-15 min |
| 3. Stripping old caulk | Remove all existing caulk and sealant | 10-20 min |
| 4. Deep cleaning | Industrial cleaners remove soap scum, oils, mineral deposits | 15-25 min |
| 5. Chip and crack repair | Epoxy filler for chips; inlay for cracks; rust treatment | 15-30 min |
| 6. Surface etching | Acid etch or wet-sanding to create bonding profile | 20-30 min |
| 7. Drying | Complete moisture removal with heat gun/blower | 10-15 min |
| 8. Masking | Tape off tile, drain, faucet, surrounding surfaces | 15-20 min |
| 9. Priming and coating | Bonding primer + 2-3 topcoats via HVLP spray | 45-75 min |
| 10. Curing | Surface hardens; no water contact for 24-48 hours | 24-48 hrs |
Total active work time: 3 to 5 hours. The technician is typically in and out the same day. The 24-48 hour cure window is hands-off; you just cannot use the tub during that period.
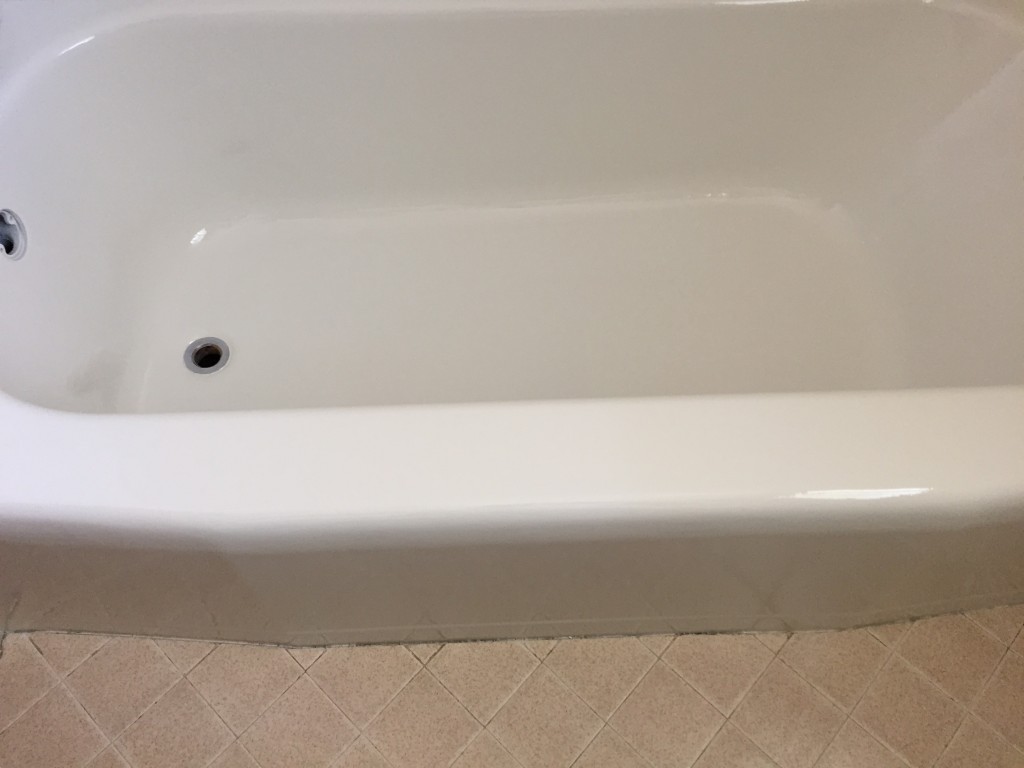
Why Surface Preparation Determines Whether the Finish Lasts
Experienced refinishers will tell you the job is 80% preparation. The coating itself is the easy part. If the surface is not perfectly clean, dry, and profiled, the new finish will eventually delaminate, no matter how expensive the coating material is. Here is what each prep step actually accomplishes.
Deep cleaning is not a quick wipe-down. Technicians use industrial-grade cleaners (typically phosphoric acid or trisodium phosphate-based solutions) to strip embedded soap scum, body oils, mineral deposits, and silicone residues. Standard bathroom cleaners leave behind surfactant films that act as a release agent against the new coating. This step alone takes 15 to 25 minutes on a standard 5-foot tub.
Chip and crack repair comes next. A good technician fills chips with two-part marine-grade epoxy that bonds at the molecular level with the existing substrate. Hairline cracks get an inlay treatment. Rust spots, common on older cast iron tubs in Chicago bungalows and two-flats, need to be ground down to bare metal and treated with a rust converter before filler is applied. Skipping rust treatment is one of the most common causes of premature refinishing failure.
Surface etching creates the mechanical bond that holds the new coating. Porcelain and enamel are nonporous by design, which is great for cleaning but terrible for adhesion. Professional refinishers either wet-sand with 120-220 grit followed by 400 grit, or apply a hydrofluoric acid etch (on porcelain/enamel) to create microscopic grooves the primer can grip. Fiberglass tubs get sanded rather than acid-etched, since the acid can damage the gelcoat.
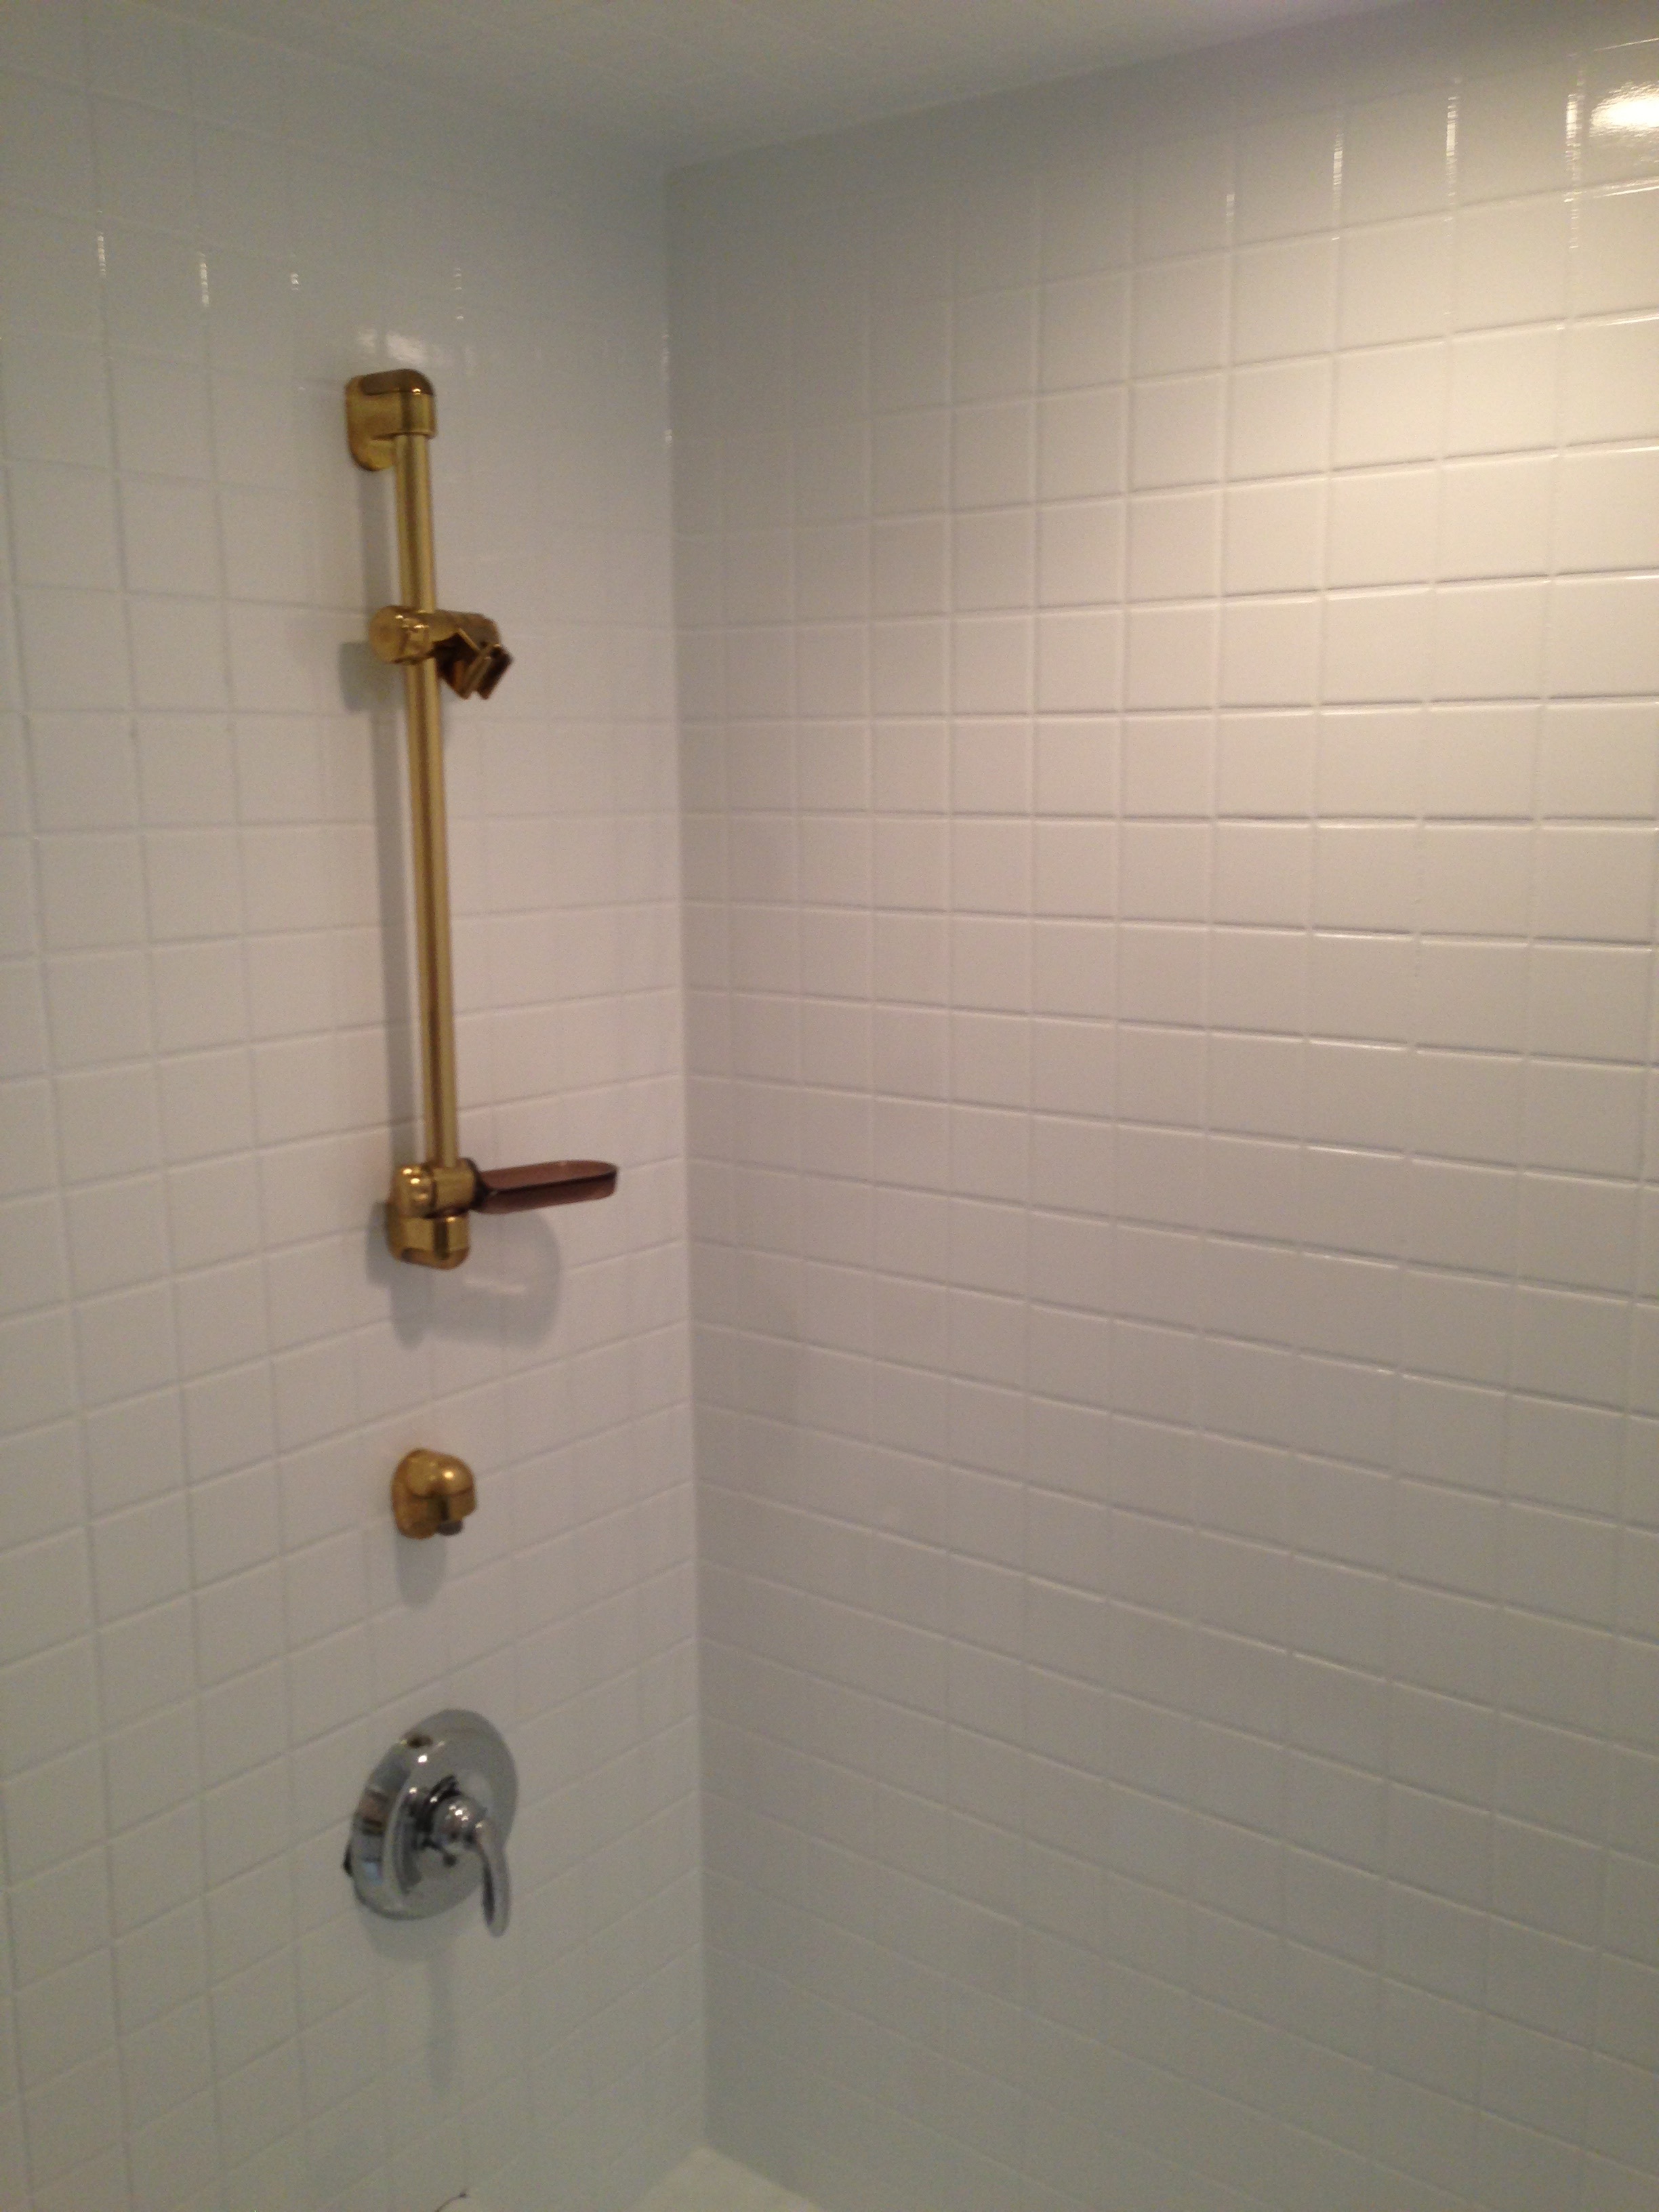
How Professional Spray Application Differs from a DIY Roll-On
The single biggest difference between a professional refinishing job and a DIY kit is the application method. Professionals use HVLP (High Volume, Low Pressure) spray systems that atomize the coating into a fine, even mist. This produces a smooth, factory-like finish with no brush marks, roller stipple, or drip lines. The coating goes on in controlled layers, each one building to a total cured thickness of 5 to 8 millimeters.
A typical professional application sequence looks like this:
- Bonding primer: 1 to 2 coats of an adhesion-promoting primer, sprayed in thin, even passes. Dry time between coats: 10 to 15 minutes. The primer creates a chemical bridge between the etched original surface and the topcoat.
- Topcoat layers: 2 to 3 coats of the finish coating (usually a two-part urethane or acrylic urethane), with 15 to 30 minutes of flash time between each coat. The technician watches for “orange peel” texture and adjusts spray pressure and distance to maintain a glass-smooth finish.
- Final inspection pass: After the last coat, the technician checks for runs, sags, thin spots, and any debris inclusions under side lighting. Any imperfections are corrected before leaving.
DIY roll-on and brush-on kits use epoxy-based formulas that cure chemically. They work, but the finish quality is visibly different. Brush strokes are nearly impossible to avoid, and the working time is short (usually 60 to 90 minutes before the mixed epoxy begins to set). For homeowners who want a like-new appearance that matches what you would see in a new tub showroom, professional spray application is the path that gets there.
What Happens During Curing and Why You Cannot Rush It
After the final topcoat is sprayed, the coating needs 24 to 48 hours to fully cure. This is not negotiable and it is not conservative padding. The chemistry is real: two-part urethane coatings undergo a cross-linking reaction where the resin and hardener molecules form permanent bonds. Interrupting this with water exposure, weight, or even high humidity can compromise the final hardness.
During the cure window:
| Time After Application | What Is Happening | What You Can Do |
|---|---|---|
| 0-4 hours | Surface is tacky; solvents off-gassing | Keep windows open, stay out of the bathroom |
| 4-12 hours | Surface feels dry to touch but is not fully hardened | Use toilet/sink carefully, no water in tub |
| 12-24 hours | Cross-linking nearing completion | Light bathroom use OK, still no tub contact |
| 24-48 hours | Full cure achieved under normal conditions | Tub ready for normal use |
Temperature and humidity matter. In Chicago, winter refinishing jobs in unheated bathrooms can extend cure times to 72 hours. If your bathroom runs cold (below 65 degrees Fahrenheit) or humid (above 85% relative humidity), the technician should advise you on extended wait times. A reputable company will tell you this upfront rather than let you discover the problem when the finish peels two weeks later.
Ventilation and Safety: What a Professional Handles That You Should Not
Bathtub refinishing involves serious chemicals. OSHA and NIOSH have documented at least 14 worker deaths since 2000 tied to methylene chloride exposure during bathtub refinishing in poorly ventilated spaces. This is not a scare tactic; it is the reason professional refinishers invest in commercial-grade ventilation and respiratory protection.
A professional setup typically includes:
- Exhaust ventilation: A fan system that creates negative pressure in the bathroom, pulling fumes out through a window or duct rather than letting them circulate into the rest of the home.
- Respiratory protection: Full-face or half-face respirators with organic vapor cartridges rated for isocyanates and solvent vapors.
- Protective gear: Chemical-resistant gloves, safety goggles, and disposable coveralls.
- Containment: Plastic sheeting sealing the bathroom doorway to isolate the work area from living spaces.
For homeowners, the main takeaway is this: when the technician is working, keep everyone (including pets) out of the bathroom and the adjacent rooms. Open a window in a nearby room if possible to help with airflow. The strong chemical smell dissipates within 2 to 4 hours after the final coat, though a faint odor may linger for a day or two. By the time the cure is complete, there is no residual odor or off-gassing concern.
Our Analysis: Where Refinishing Jobs Go Wrong (and How to Avoid It)
After reviewing over 200 consumer complaints about bathtub refinishing on the Better Business Bureau and home improvement forums, we identified five recurring failure patterns. Every single one traces back to a prep or process shortcut.
| Failure Type | Root Cause | How Often It Shows Up | Prevention |
|---|---|---|---|
| Peeling within 6 months | Inadequate etching or residual oils on surface | ~35% of complaints | Ask if tech does acid etch AND sanding |
| Rough or bumpy texture | Dust/debris in coating or wrong spray pressure | ~20% of complaints | Ensure bathroom is sealed and dust-free before spraying |
| Discoloration or yellowing | Low-quality coating or insufficient topcoat layers | ~15% of complaints | Ask about coating brand and number of coats |
| Drain area failure | Moisture trapped under coating near drain | ~18% of complaints | Watch if tech uses heat or vacuum to dry drain area |
| Strong odor persisting 3+ days | Poor ventilation during application | ~12% of complaints | Confirm exhaust fan setup before work begins |
The pattern is clear: the companies cutting corners on preparation are the same ones generating complaints. When evaluating a refinishing company, the questions that matter most are about the prep process, not the price. Ask how long the technician spends on prep versus spraying. If the answer is less than 60% of the total job time on prep, that is a red flag.
What Chicago Homeowners Should Know About Local Refinishing
Chicago’s housing stock creates some unique refinishing scenarios. The city has a high concentration of cast iron tubs from the 1920s through 1960s, particularly in bungalow-belt neighborhoods and pre-war two-flats. These tubs are built to last (some weigh over 300 pounds), which is exactly why refinishing makes so much sense for them. Removing a cast iron tub from a second-floor bathroom requires cutting it apart with a reciprocating saw, which runs $800 to $1,500 just for removal before you have bought a new tub or paid for installation.
Refinishing that same cast iron tub costs $350 to $650 in the Chicago metro area and takes a single afternoon. The math is not close.
Aarco Baths has been refinishing tubs across the Chicago area since 1963, with locations serving Chicago, Addison, and Naperville. The company uses a proprietary process and coating system backed by a full 10-year guarantee, which is notably longer than the industry-standard 3 to 5 year warranty most competitors offer.
If you are considering refinishing and want to understand whether your specific tub is a good candidate, requesting a free estimate is the most straightforward next step. A good refinishing company will be honest about whether your tub is a fit for the process.
Frequently Asked Questions
How long does the actual bathtub refinishing process take?
The active work takes 3 to 5 hours for a standard tub. This includes all prep work, repair, priming, and topcoat application. The technician is typically done and out of your home the same day. After the work is complete, you will need to wait 24 to 48 hours for the coating to fully cure before using the tub. In cold or humid conditions (common in Chicago winters), cure time can extend to 72 hours.
What chemicals are used in professional bathtub refinishing?
Professional refinishers use industrial-grade cleaners (phosphoric acid or TSP-based), two-part epoxy fillers for repairs, acid etchants or bonding agents for surface preparation, adhesion-promoting primers, and two-part urethane or acrylic urethane topcoats. All of these require proper ventilation and respiratory protection during application. By the time the coating fully cures, there are no harmful residual chemicals on the surface. The finished tub is completely safe for daily use, including for children and pets.
Can I use the bathroom while the tub is curing?
Yes, with limitations. The toilet and sink are fine to use after about 4 to 6 hours, as long as you are careful not to splash water into the tub. The tub itself must remain completely dry and untouched for the full 24 to 48 hour cure period. Do not place anything on the tub surface, run the shower, or let water drip from the faucet during this window.
How is professional refinishing different from a DIY kit?
The two biggest differences are application method and coating quality. Professionals use HVLP spray equipment that produces a smooth, factory-like finish impossible to achieve with a brush or roller. Professional-grade coatings also contain higher concentrations of bonding agents and UV stabilizers that resist yellowing and wear. A professional job typically lasts 10 to 15 years, while most DIY kits last 3 to 5 years under normal use.
How do I know if my tub is a good candidate for refinishing?
Most tubs are good candidates if the underlying structure is sound. Porcelain over cast iron, fiberglass, acrylic, and cultured marble can all be refinished. The tub should not have cracks that flex under pressure (indicating structural failure), and ideally should not have been previously refinished with a coating that is now peeling. If your tub has surface chips, stains, discoloration, or a rough texture, those are all fixable through refinishing. When in doubt, a reputable refinisher will do an in-home assessment and tell you honestly whether refinishing or replacement is the better investment.